GLB Preview
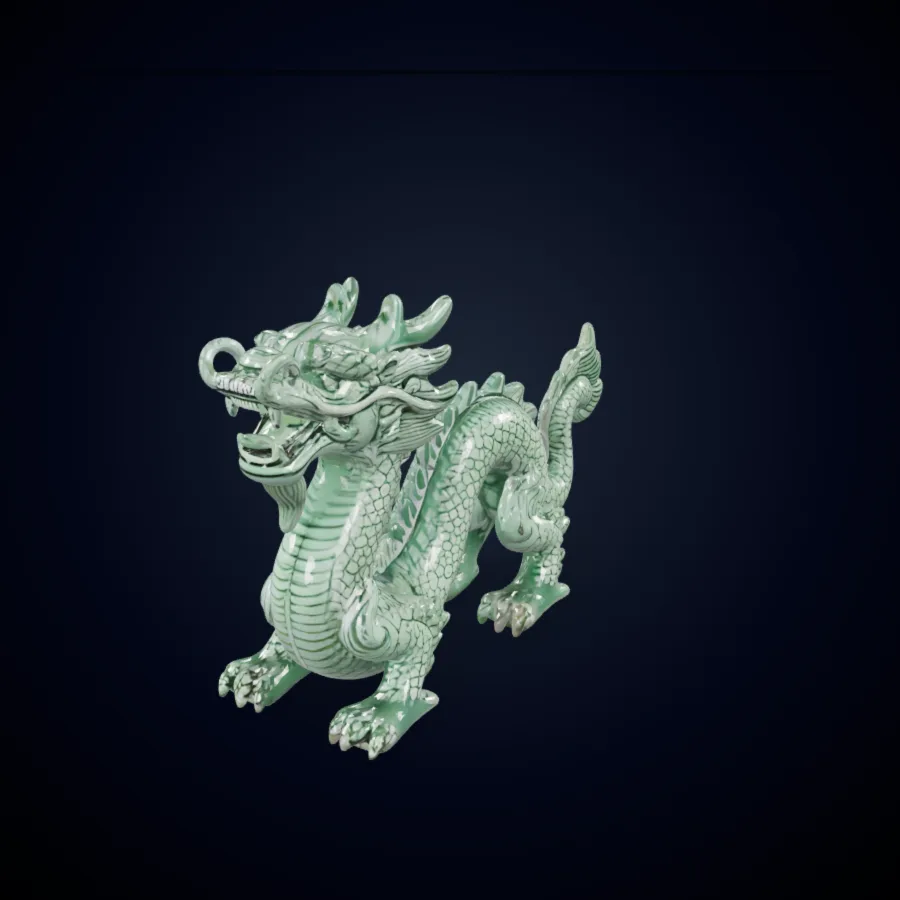
Dragon
Detailed fantasy creature preview with PBR material styling.
Searching for Meshy or Meshy 3D? Use Trellis 2 to route an image or prompt through a practical AI 3D model generator, compare model families, and inspect the mesh before production handoff.
A Meshy search often begins with one goal: turn an idea into a useful 3D asset without a long manual setup. Trellis 2 approaches that goal as a sequence of decisions. Choose image to 3D or text to 3D, select a model family, evaluate the generated shape, and keep only results that meet your next production checkpoint.
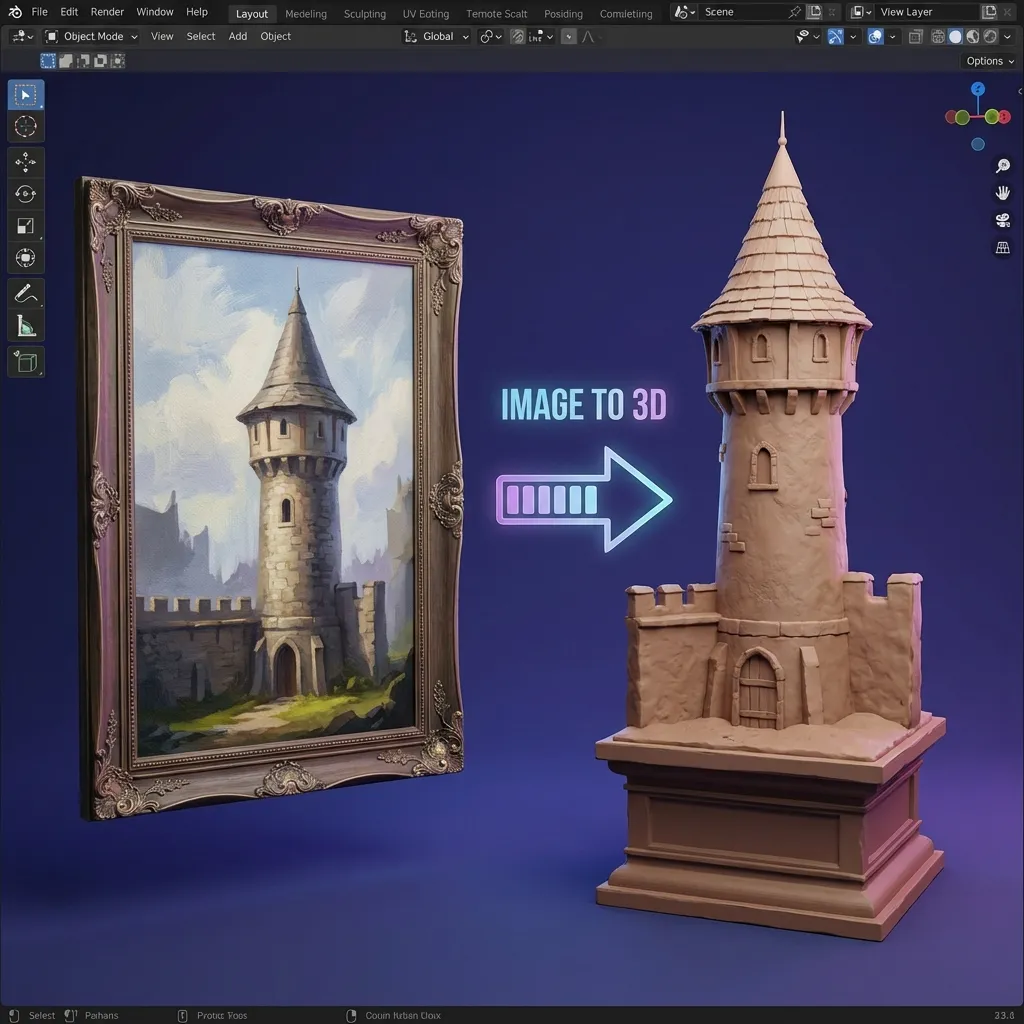
Start with evidence rather than habit. A clean product photo, character sketch, or object reference belongs in an image-to-3D path because the visible silhouette anchors the result. A written idea belongs in text-to-3D when shape, material, and style are still flexible. Trellis 2 keeps both entry points in one workspace so a Meshy AI search can become a deliberate input decision.

Meshy 3D visitors may care about speed, surface detail, topology, or the ability to start without signing in. Trellis 2 exposes multiple model families in the same generator. Run the option that matches the current constraint, record what worked, and try another route when the first mesh does not support the intended use.
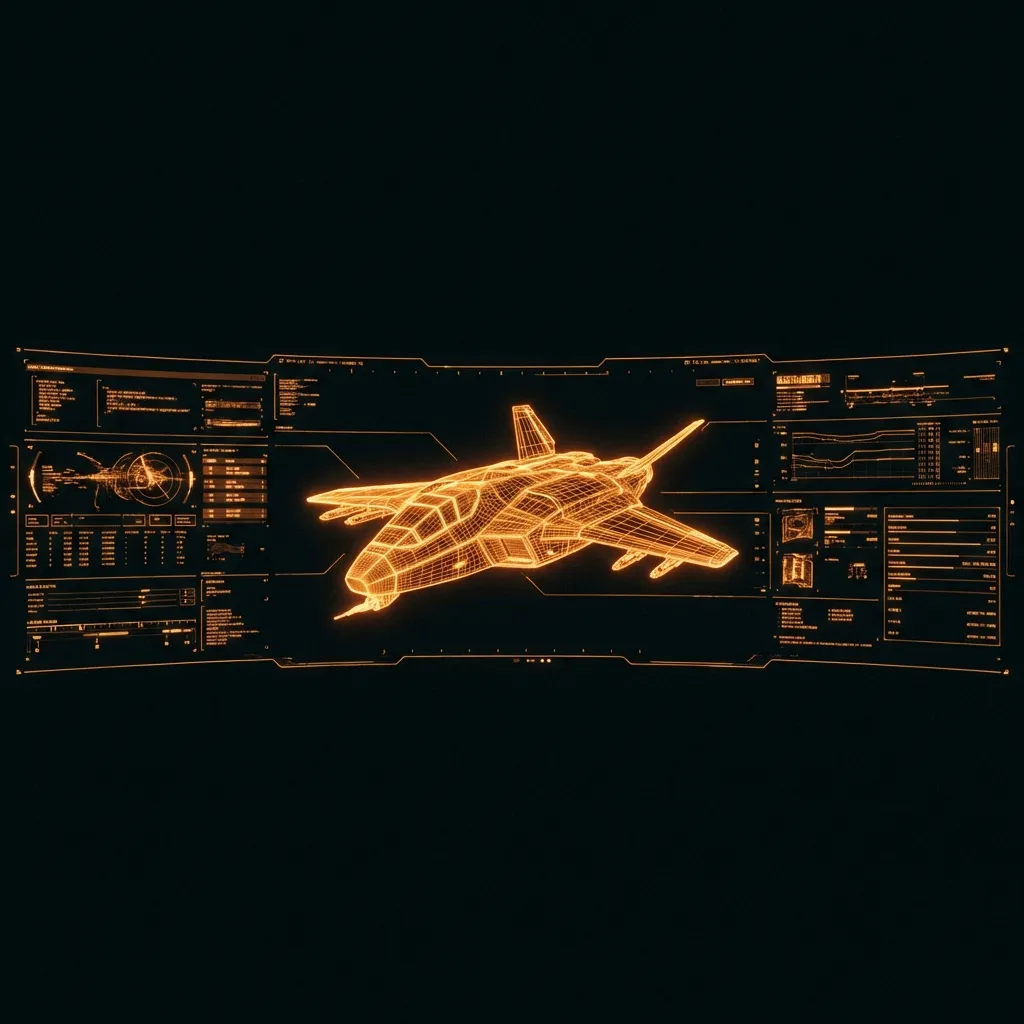
A fast result is valuable only when it survives inspection. Rotate the asset, compare its outline with the source, examine thin parts and hidden surfaces, and check whether material regions remain coherent. This review-first approach gives Meshy searchers a repeatable way to judge Trellis 2 output before spending time on cleanup.

Decide where the asset goes next before choosing a model. A concept review needs a readable form; a game prototype needs sensible scale and manageable geometry; a product mockup needs recognizable proportions. Meshy AI intent becomes more useful when the target checkpoint is defined before the first generation begins.
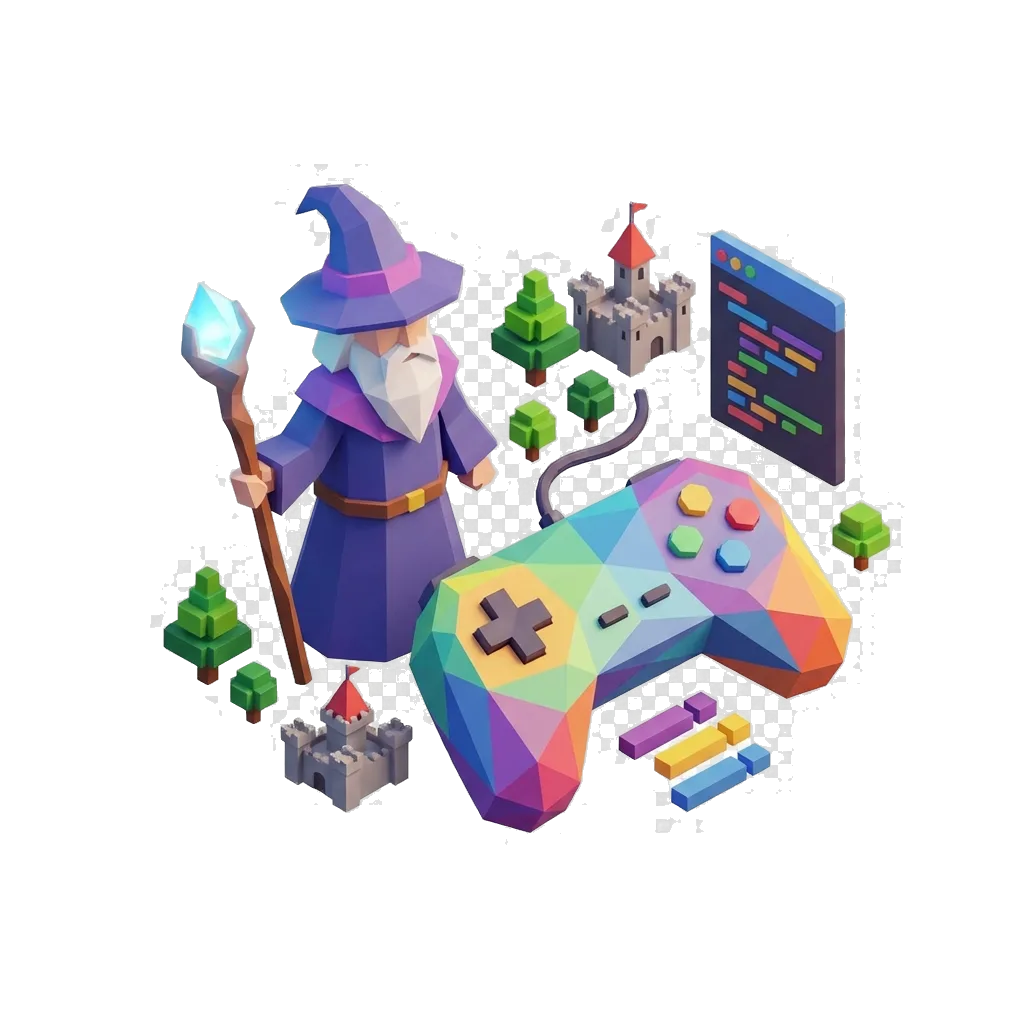
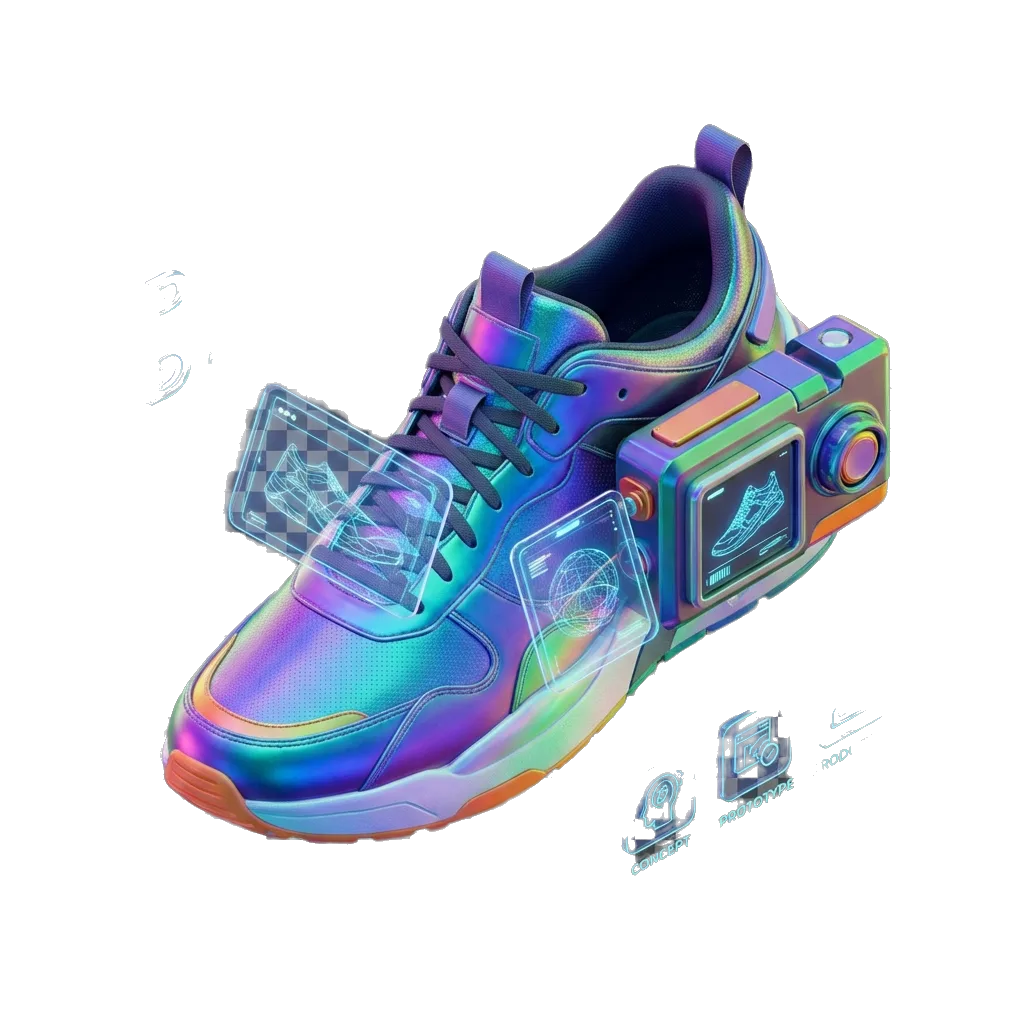
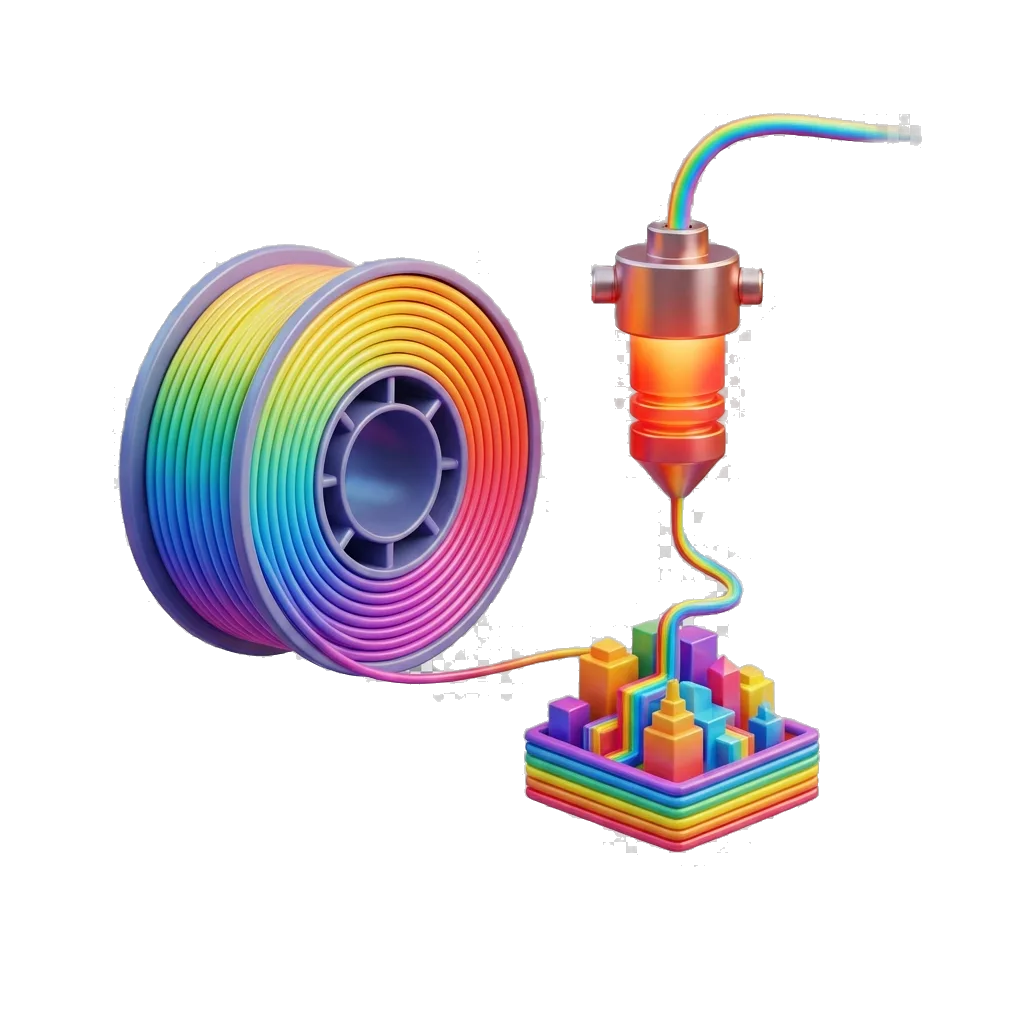
Preview high-quality 3D model examples instantly, then load the interactive viewer on demand.
Detailed fantasy creature preview with PBR material styling.

Product-ready hard-surface asset for design review workflows.

Clean character-style mesh preview for quick creative validation.
Use three explicit checkpoints—input, model route, and mesh acceptance—to keep each experiment focused and comparable.
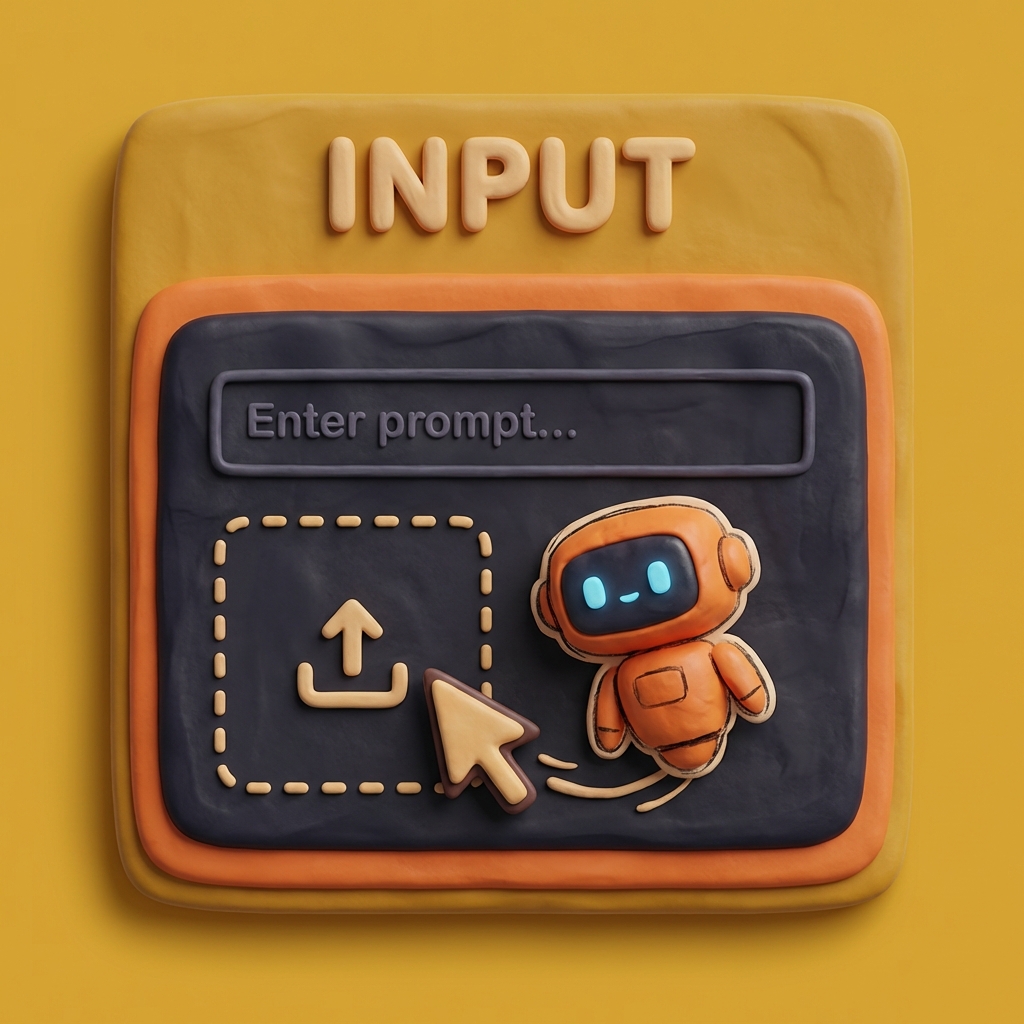
Choose a reference image or write a focused prompt, then state what must be recognizable in the result. A Meshy search for a printable figurine has different requirements from a Meshy AI search for a background prop. Note the important silhouette, material zones, scale, and downstream application before generating.
Pick the Trellis 2 model family that fits the task and available access level. Keep the first run simple. If the result misses the target, change one input variable or switch the route instead of making several changes together. This makes Meshy 3D experiments easier to compare and repeat.
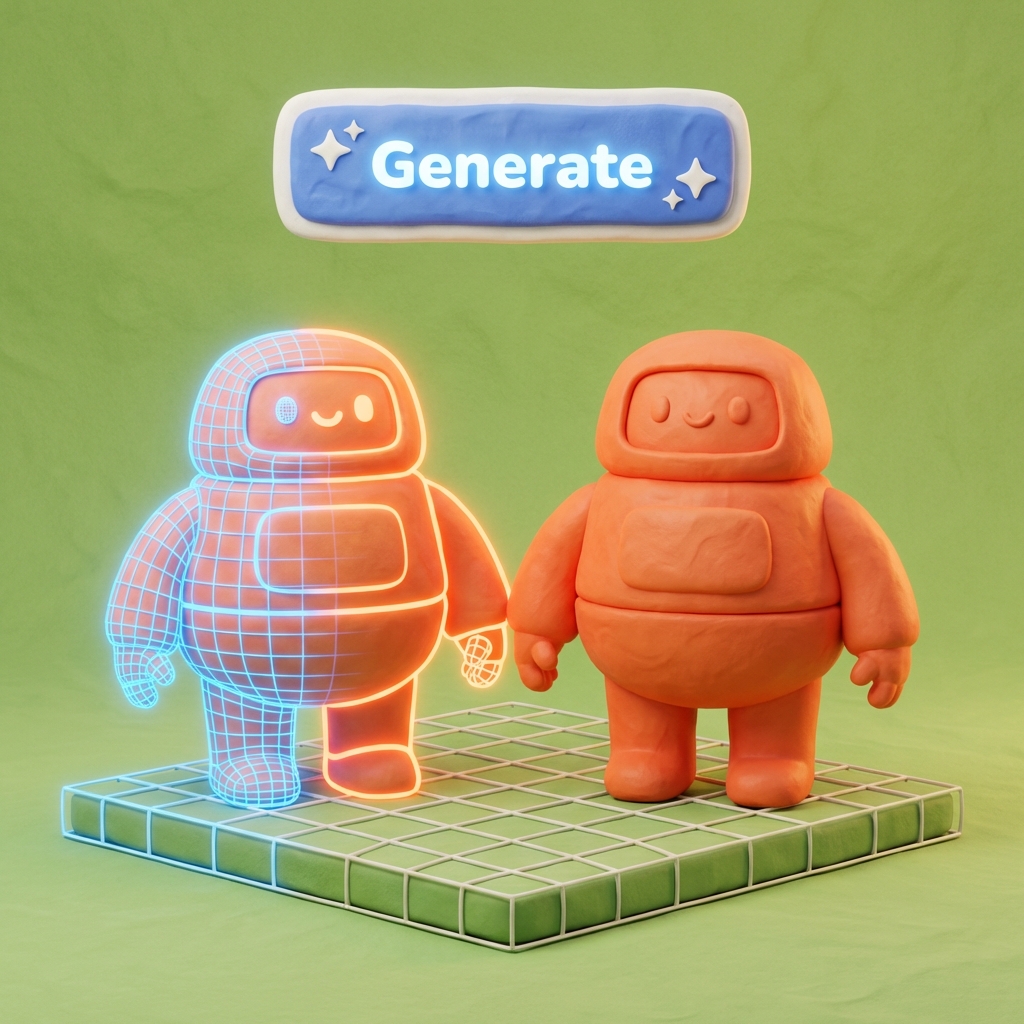
Rotate the model and inspect its silhouette, underside, thin regions, texture seams, and scale. Record which route produced the strongest result. Export only after the mesh clears the checkpoint for concept review, prototyping, or further editing in Blender, Unity, Unreal, or another 3D application.

Trellis 2 is most useful when a team needs a visible 3D direction, a consistent review method, and a clear next step rather than an unexamined one-click result.

Game teams can generate rough props and environment objects, then check silhouette and scale inside an early scene. The output is a decision asset: it helps the team approve an art direction before retopology, UV preparation, material work, and performance optimization begin. That makes the Meshy workflow easier to evaluate as a team.

A clear product photo or sketch can anchor a 3D concept for packaging discussions, ecommerce layouts, or form reviews. Teams can compare the generated proportions with the source and identify which surfaces still require controlled manual modeling. That makes the Meshy workflow easier to evaluate as a team.
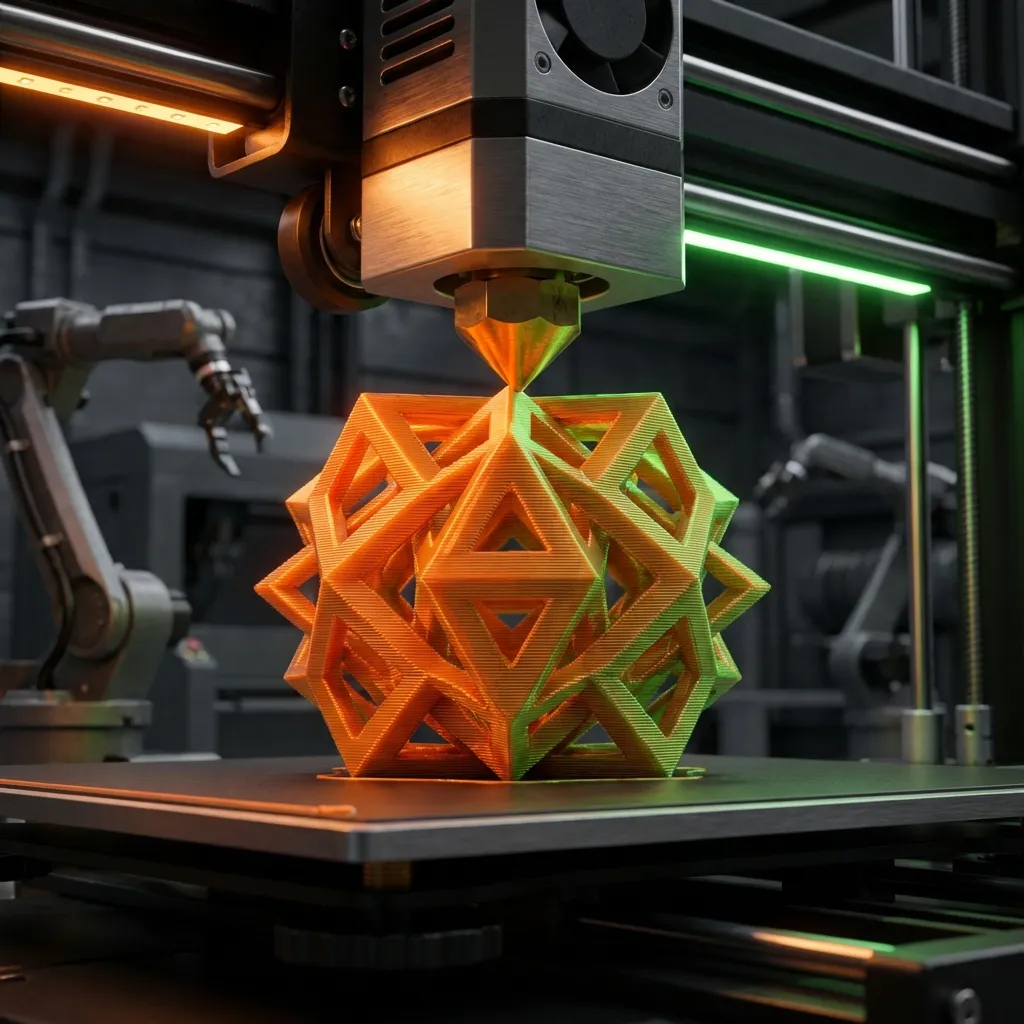
Hobbyists and educators can use a generated model to test whether a figurine, teaching object, or decorative concept is worth preparing for print. Wall thickness, watertight geometry, supports, and printer tolerances still need dedicated checks after generation. That makes the Meshy workflow easier to evaluate as a team.

Film and visualization teams can turn a short brief into a spatial reference for framing, set dressing, or prop discussion. A fast mesh makes the idea easier to critique while specialist artists retain control of final topology, materials, rigging, and shot requirements. That makes the Meshy workflow easier to evaluate as a team.
Apply the same checks to every generated asset so model choice is based on useful evidence rather than the first attractive preview.
View the object from several angles and confirm that its dominant proportions still match the prompt or reference. Large shape errors are more important than small surface details. Use the same standard for every Meshy result.
Inspect the underside, back, cavities, and narrow connections. A Meshy AI alternative should be judged on the complete object, not only the camera angle used in a polished preview. This prevents a Meshy preview from hiding structural gaps.
Check whether color boundaries, repeated patterns, and material transitions remain coherent while the model rotates. Note the areas that need repainting or UV correction. A Meshy result should remain coherent beyond one still image.
Match mesh complexity to the destination. A review render, browser prototype, game prop, and printable object have different topology and performance expectations. Record this budget beside the Meshy route you selected.
Keep a simple record of input, model route, and result. Comparing controlled variations helps Meshy searchers identify whether the input or the selected model caused a weakness. A small Meshy test log makes later choices more reliable.
List the remaining topology, UV, scale, material, rigging, or print-preparation work before exporting. A clear handoff turns a generated asset into an actionable production starting point. Attach these notes to the Meshy asset before handoff.
Practical answers about using Trellis 2 for multi-model 3D generation, controlled comparison, mesh review, and downstream editing.
Trellis 2 treats generation as a routed workflow. Choose image to 3D or text to 3D, select an available model family, generate a result, and inspect the mesh against a defined checkpoint before keeping or exporting it.
Yes. Use an image when silhouette and proportion already exist, and use text when the object is still an idea. A Meshy AI search can involve either intent, so Trellis 2 keeps both options near the same generation workspace.
Different model families can vary in access, input support, processing time, and output character. Multiple routes let you choose based on the current job instead of assuming one generator is best for every Meshy 3D use case.
Keep the input and acceptance goal stable, then inspect silhouette, hidden surfaces, texture regions, scale, and geometry complexity. Record the selected model route so the stronger outcome can be reproduced later.
Not automatically. Review topology, UVs, textures, scale, normals, rigging needs, and format compatibility for the destination. The AI 3D model generator accelerates the first useful form, while final readiness still depends on human checks.
Use a supported export when the result passes review, then continue with the cleanup required by your pipeline. Blender can support geometry and material edits, while Unity or Unreal can help evaluate realtime scale, shading, and performance.
Use one clearly visible subject, a simple background, useful lighting, and an angle that explains depth. Avoid heavy occlusion and tiny details that do not define the main form. Better evidence gives every Meshy-oriented model route a clearer target.
Bring an image or prompt to Trellis 2, choose a model route, and evaluate the resulting mesh against a clear production checkpoint. Keep the Meshy test focused on one measurable goal.